DIY: Nail Extensions at Home
Do you need to do your manicure urgently, and you’re not able to visit the nail techs?
Here are tips to DIY nail extensions from your home. There will be no need for nail techs, no stress, and no waiting; it will be tailored to your preferences. Read.
What are nail extensions?
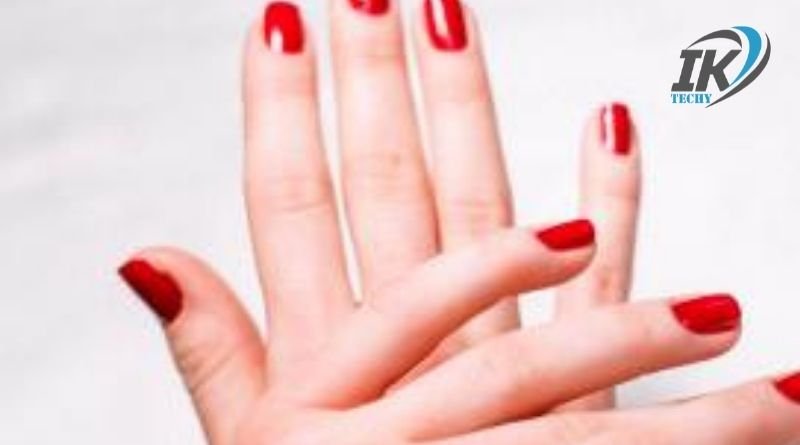
Nail extensions are essentially false nails glued onto your natural nails. They are often used to fill in gaps in your natural nails and lengthen your fingertips. They also come in handy for adding length and thickness to short nails.
There are many different types of nail extensions and methods of application. There are many reasons why you may want to use nail extensions. Each reason is valid as long as it satisfies your needs. Moreover, nail extensions are not so difficult to apply, and you can do it yourself!

DIY Steps for Nail Extensions at Home
Follow through with these steps and get your nail extensions fixed in the comfort of your home.
1. Prepare Your Nails
If you want your nail extensions to be fantastic and long-lasting, you must start with prepping your natural nails. You have to set the foundations right, just like when building a house. The process of preparing the nails involves filling and buffing your natural nails. Then you should apply a pH bonder to the nail surface. This aims to eliminate debris and oils that may make the application and adhesion of nail extensions difficult. Finish off by using a non-acidic gel primer on the natural nails. Your nails are now extension-ready!
2. Apply the Nail Extensions
Your nail extensions must be ready, even before prepping your natural nails for the overlay. You should have selected the proper nail extensions for each nail (considering size and length). You may make mistakes on your first few trials, but that’s okay.
You can cut down on stress by choosing to buy pre-coloured nail extensions. So, you’ll not have to buy coloured gel polish to paint your nails. Select the extensions that fit each nail and set them aside close by. The process of application involves a few steps.
- Using a square gel brush, apply and extend gel in adequate amounts to your natural nails and the underbelly of your nail extensions.
- Place the nail extension on your natural nail position close to the cuticle.
- Make sure the nail is in the best position that suits your preference.
- Curing the nail is the next step. Place your hand under a UV light lamp for a minute or 90 seconds to finally glue the nail extension to your natural nails.
Extensions Using Nail Builder Gel
You can leverage the benefits of nail builder gels to create length and add thickness to your nails. This can also be used to add strength to your nails. The cool part? You can apply nail builder gels to both natural nails and nail extensions. Do you want to achieve a non-chip overlay? You need nail builder gel. You can find plenty of tutorials on how to use nail builder gel. Some practice will help you ace this art soon.

3. Shape and Buff Up Your Nails
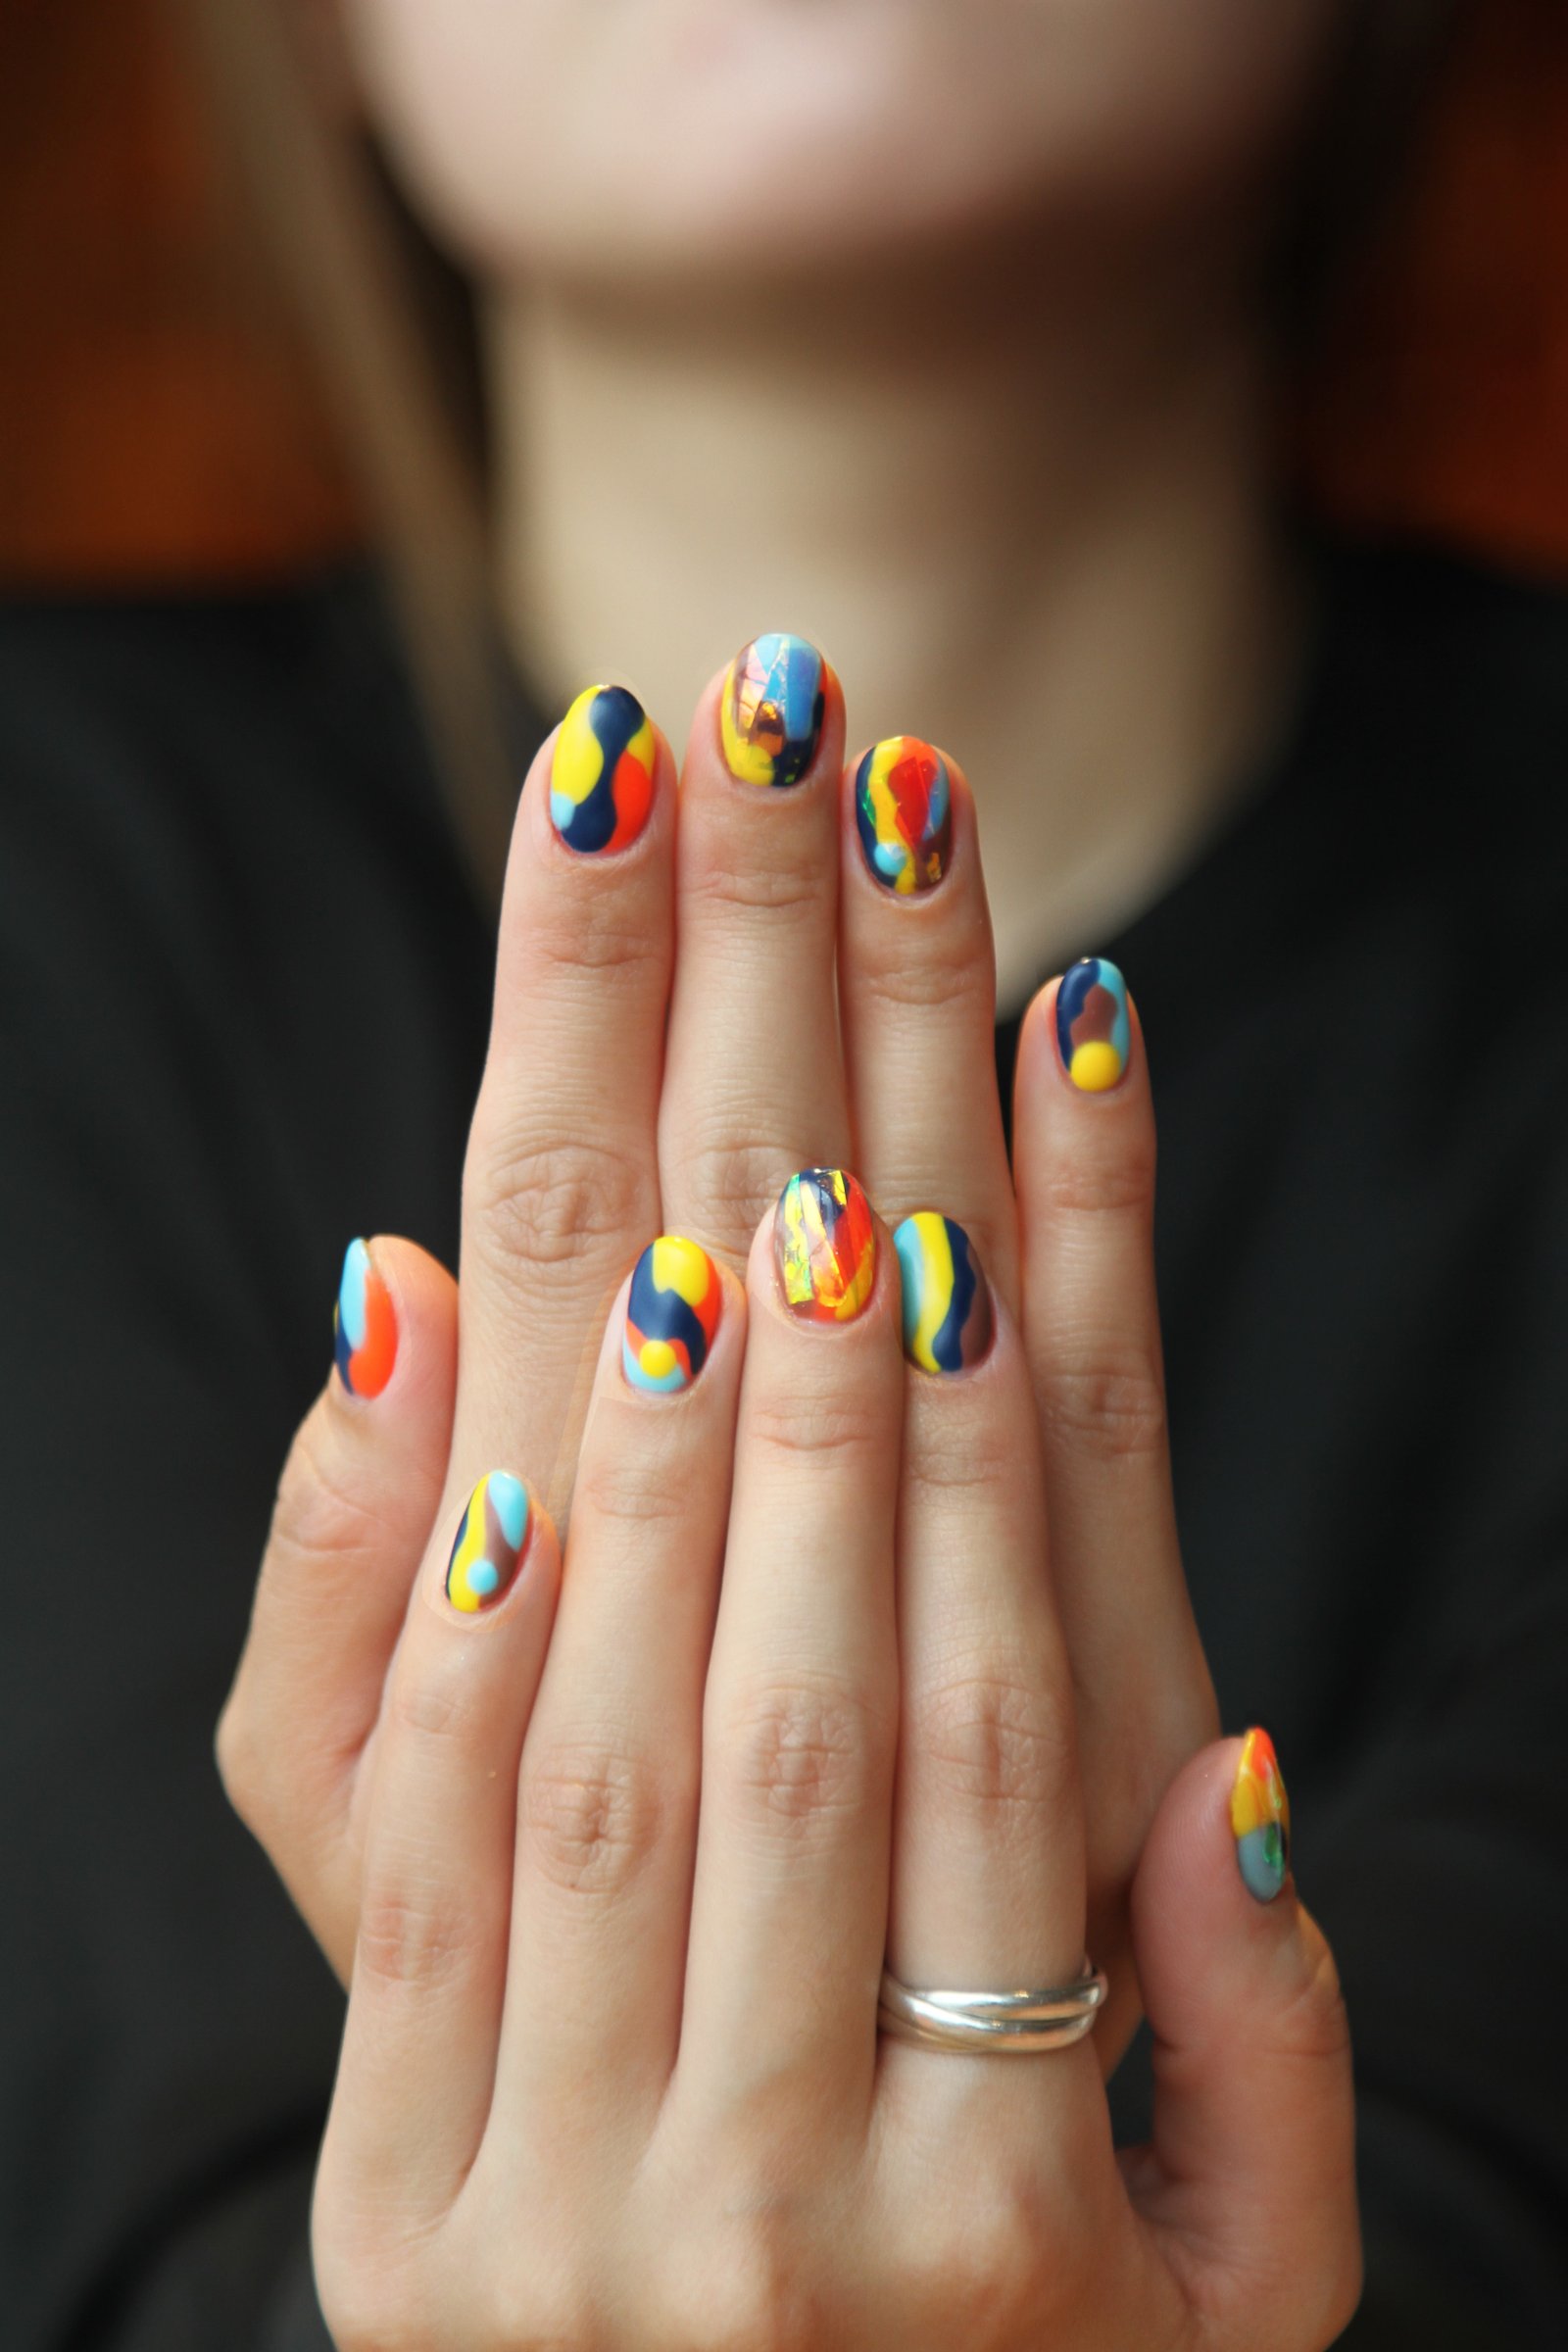
After curing the nails, they get glued in place and stay there. This is the time to trim excess parts, clip and file your nail extension. Carve out any shape you have in mind at this stage. Go creative; choose funky patterns. It’s your nails.
After shaping them, buff the nails to make the surface smooth. Your nail polish and top coat will look flawless with a smooth nail surface.
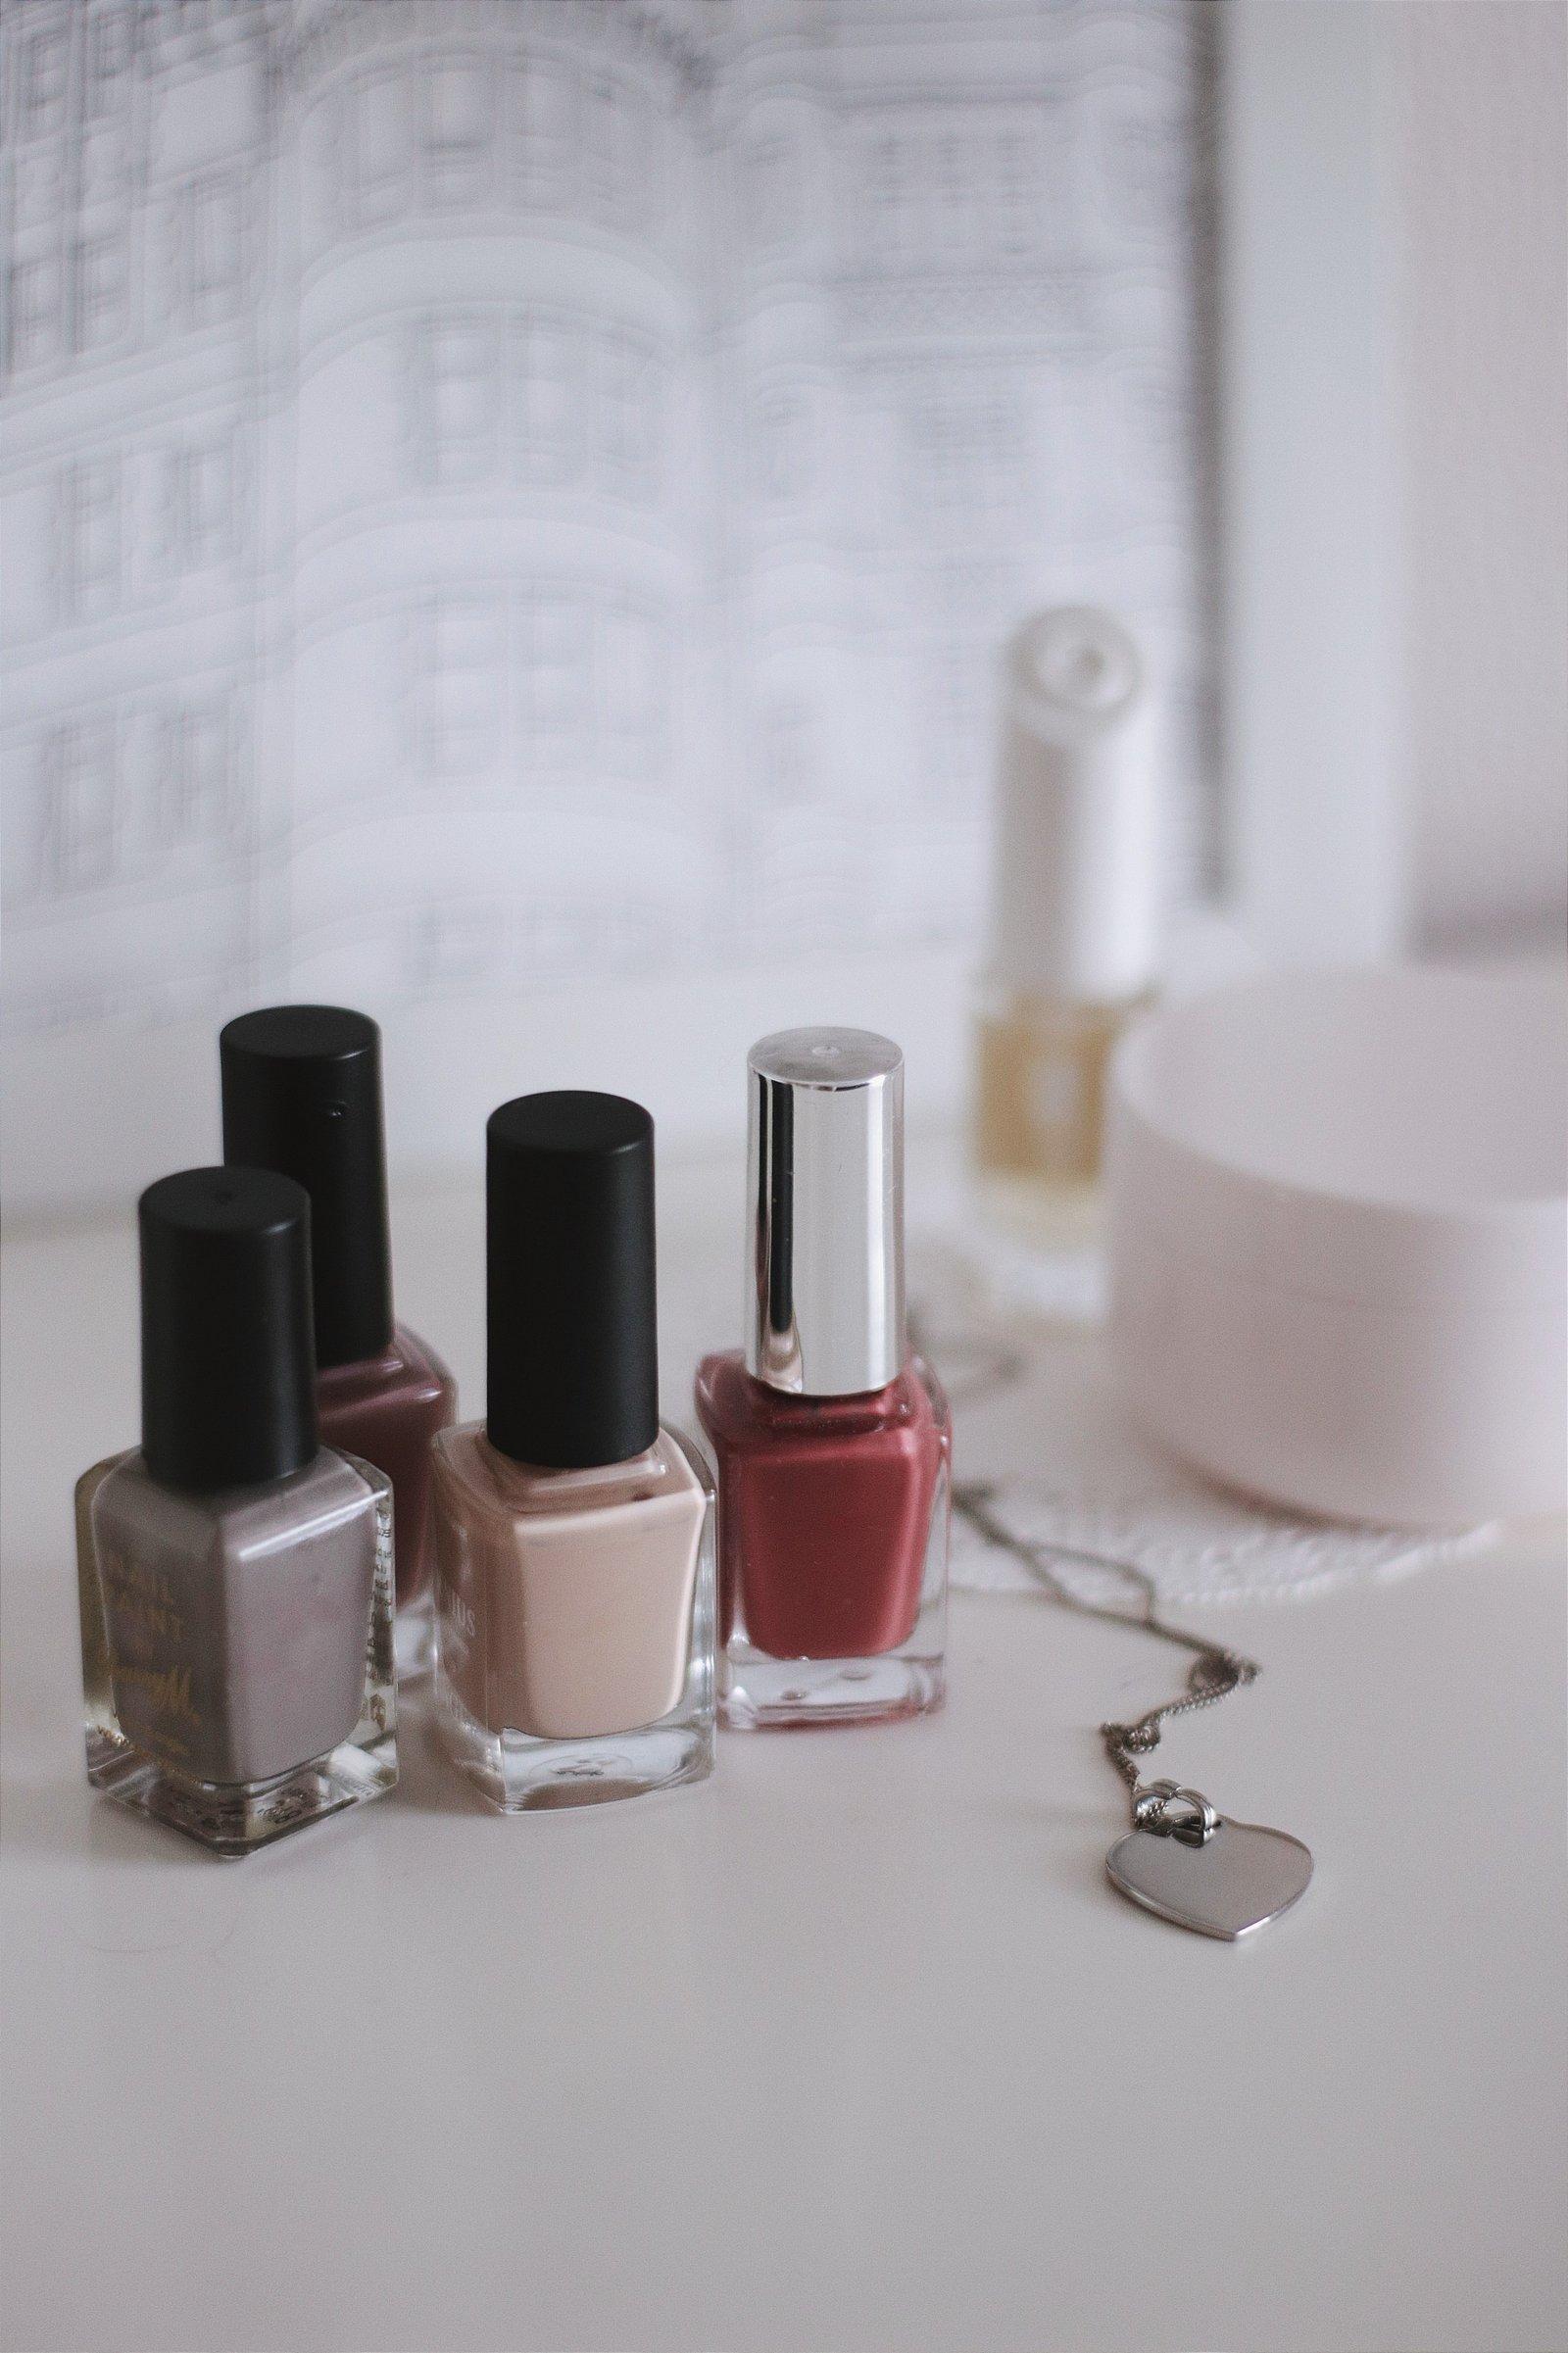
4. Use Nail Paint to Decorate Your Nails
If you didn’t buy the pre-colored extension, this is the stage where you’ll apply your gel nail polish. Apply a thin layer of your desired shade using a clean gel brush. Then place your hand under the UV lamp for 1 minute. Take it one hand at a time, and repeat the process (up to four times) till you get your desired level of pigmentation.
5. Give It A Touch Of Gel Topcoat
After setting your nail colors, you need to apply a gel topcoat. Apply the coat and place your hand under UV light for 90 seconds. Your beautiful nail extensions are now ready.
You want to take your time when doing nail extensions by yourself. Slow and steady wins this race. And practice makes perfect. Your first result will not be the best, but it will be worth your time. It keeps getting better, so your next application will be better.
Conclusion
There are numerous reasons why you may want to do your nails yourself. When the reason arises, you don’t have to be caught on the hook of ignorance. Follow the DIY steps highlighted in this article and get the best nail extensions.