What You Need To Know About Installing Outdoor Electrical Junction Boxes
Junction boxes connect additional sockets to electrical circuits, add lighting points, extend circuits, and generally transfer power from one location to another, apart from being used for maintenance.
If a wire becomes damaged, the damaged section can be cut out, and the two sections rejoined using a junction box.
They are used to safely connect wires or run a spur from an electrical circuit. A junction box is ideal whenever two or more electrical cables need to be connected. As a result, they are broadly utilized and highly beneficial to anyone involved in wiring and electrics.
You might think that block connectors do the same thing, and you’d be correct, but they leave quite large sections of wiring exposed, and if you’ve removed long lengths of protective sleeve from wires, bare live wires can be easily accessible and pose a severe risk.
Junction boxes have an advantage in this situation because all wiring and connections are contained within the junction box, leaving no exposed bare wires that can be touched or knocked.
Installing an Outdoor Electrical Junction Box
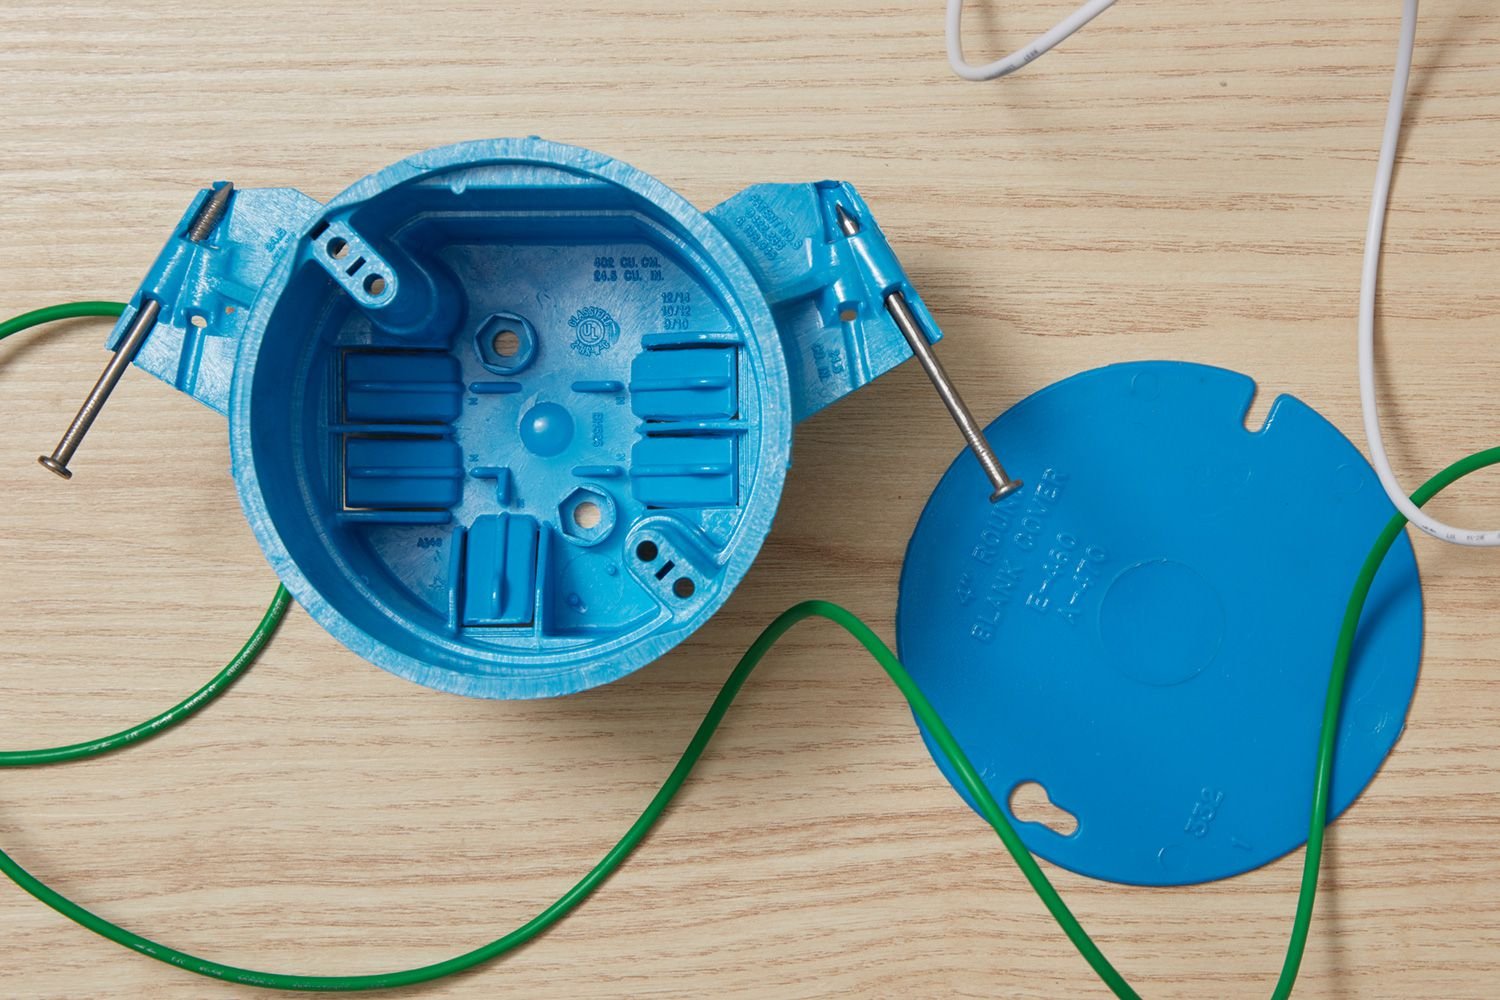
1. Install the Box
To create space for the new junction box, separate the circuit wires at the existing splice and loosen the cables. With screws driven through factory-made holes in the back or side of the box, secure the box to the framing (or other support structure).
If you’re using a sheet metal box for electronic installation, remove a knockout on the box for each cable that will enter the box before doing anything else (even separating the circuit wires). Break out each knockout (metal disc) with a screwdriver or hammer, then twist off the metal knockout disk with pliers.
2. Install Clamps for Each Cable
As needed, attach a cable clamp to each cable. Standard plastic electrical boxes lack knockouts and have internal cable clamps. Install a locknut-type clamp for each cable if your metal box lacks internal clamps. Insert the clamp’s threaded end through a knockout hole and secure it with the ring-shaped nut inside the box. Using pliers, tighten the nut.
3. Twist the Same-Colored Wires Together
Color-matching is used to create the electrical circuit. Look at the wire’s protective insulation to determine its color. Gather the black cables, for example, and hold the exposed ends together. Twist them clockwise with a pair of lineman pliers until they are securely connected.
4. To Connect Multiple Wires, Use a Wire Nut
When connecting two or more wires, use the proper size wire nut. They resemble caps and twist over the exposed part of the wires. Remove about 2.2 cm of the outer sheathing from each wire, then turn the cables together with lineman pliers.
Finally, drive them into a wire nut and pull on the wires to ensure a secure connection. For added security, secure the wire nut with electrical tape.
Pro Tip: The color of the wire nut determines its size and the number of wires that can fit inside it. A red wire nut, for example, can hold a minimum of two 14-gauge wires and a maximum of four 12-gauge cables.

5. Place the Ground Wire in a Metal Junction Box
After connecting all of the wires, you’ll have one loose wire. This wire should be green or copper in color. Inside the junction box, look for the ground screw, which should be machine threaded and green in color.
6. Before Sealing the Box, Insert All of the Wires
To avoid damaging the wires, proceed with caution. Place them inside the box so they don’t protrude. The cover of the box should be flat. It will undoubtedly have screws that you can tighten to secure it. Turn on the power and test your electrical system when you’re finished.
7. Include a Weather-Resistant Cover
If the main external plug socket is currently not in use, the flip-up tabs may protect it from the elements. On the other hand, we don’t recommend flip-up tabs when the outlet is in use. As the National Electrical Code requires, use a weatherproof cover to keep moisture out of an active outside plug box. Even though the lid is designed with grooves and deep lids to fit the electrical outlet properly, it is advised that you use one with the same configuration as your GFCI outlet design. Weatherproof covers for various electrical equipment, including circuit breakers, are available.
Selecting the Correct Junction Box
Make certain to purchase a junction box that is appropriate for your installation. To prevent moisture intrusion, outdoor locations, for example, necessitate a weatherproof junction box with gaskets. Also, ensure that the junction box is large enough to accommodate the number of wiring connections you will be making. Many DIYers choose the largest, practical box for the application to ease installation. To ensure safety, the National Electrical Code requires the use of a ground fault circuit interrupter or GFCI circuit. A GFCI circuit can be identified by its test and reset buttons. Also, because the outdoor electrical circuit must be weather resistant, check if the GFCI circuit has the letter ‘WR.’
If you buy a house with a primary electric outlet already installed, don’t assume it’s safe. Before you move in, double-check the configuration and wiring.
Tools and equipment
- No-contact Voltage tester
- Screwdriver
- Hammer (for a metal box)
- Tweezers (for a metal box)
- Drill and screwdriver tips
- Strippers for wires
- Clamps for cables (for a metal box)
- Screws made of wood
- Connectors for wire

Conclusion
You should install an outdoor outlet box only if you know how to install electrical outlets. If you don’t, seek the assistance of a qualified electrician.